Required Materials
- 1 piece of 5mm-thick acrylic sheet
- Acrylic-specific adhesive
- Sandpaper set (400-grit & 800-grit recommended)
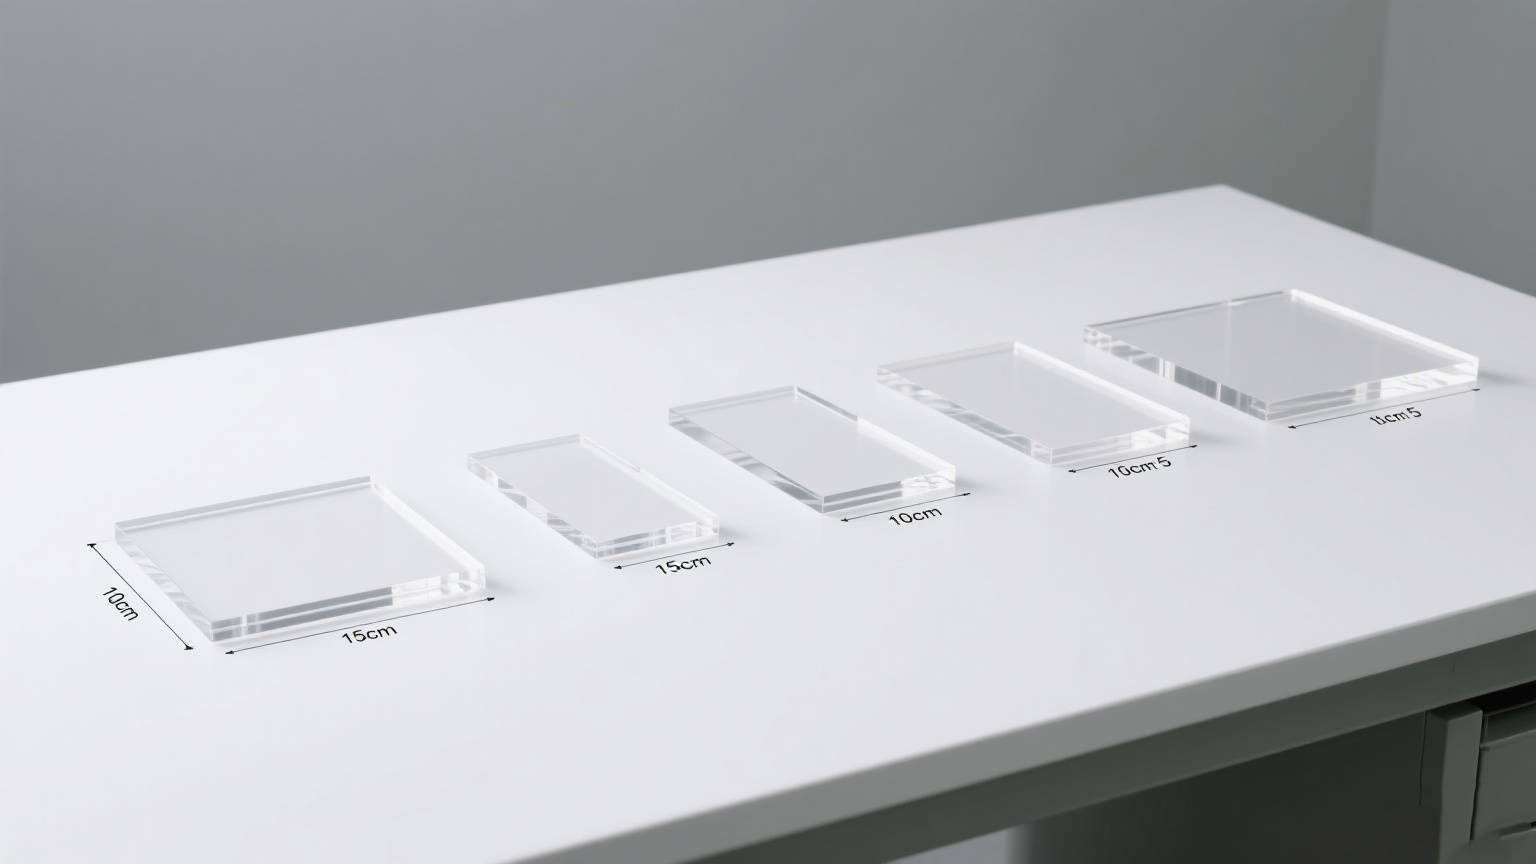
Step 1: Cut the Acrylic Sheet into 5 Components
- Base panel: 15cm × 10cm (straight cut)
- 2 side panels: 15cm × 5cm each (straight cut)
- 2 end panels: 10cm × 5cm each (straight cut)
Tip: Use an acrylic cutter for straight cuts (suitable for 5mm-thick sheets). Apply masking tape along the cutting line first to prevent surface scratches and ensure precise cutting.
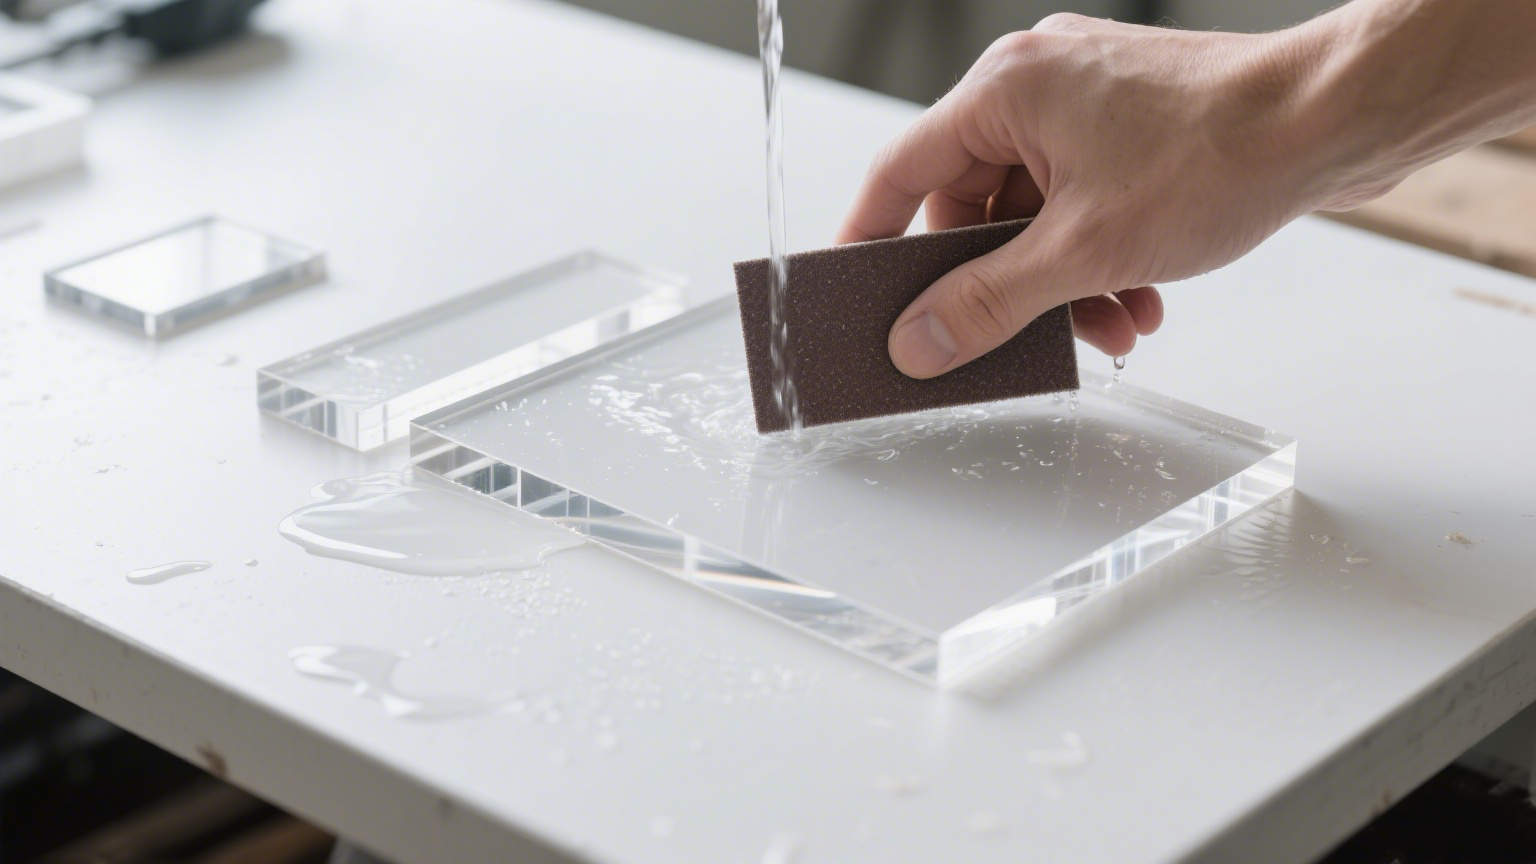
Step 2: Edge Finishing
- Wet-sand the edges of all components with 400-grit sandpaper first—hold the sandpaper at a 45° angle and move it gently to remove burrs.
- Switch to 800-grit sandpaper for fine sanding until the edges feel smooth to the touch.
- (Optional) Apply acrylic polishing paste to a soft cloth and buff the edges in circular motions for a glossy finish, which enhances the overall appearance.
Step 3: Assembly (Refer to the "Adhesive Bonding" Method Mentioned Earlier)
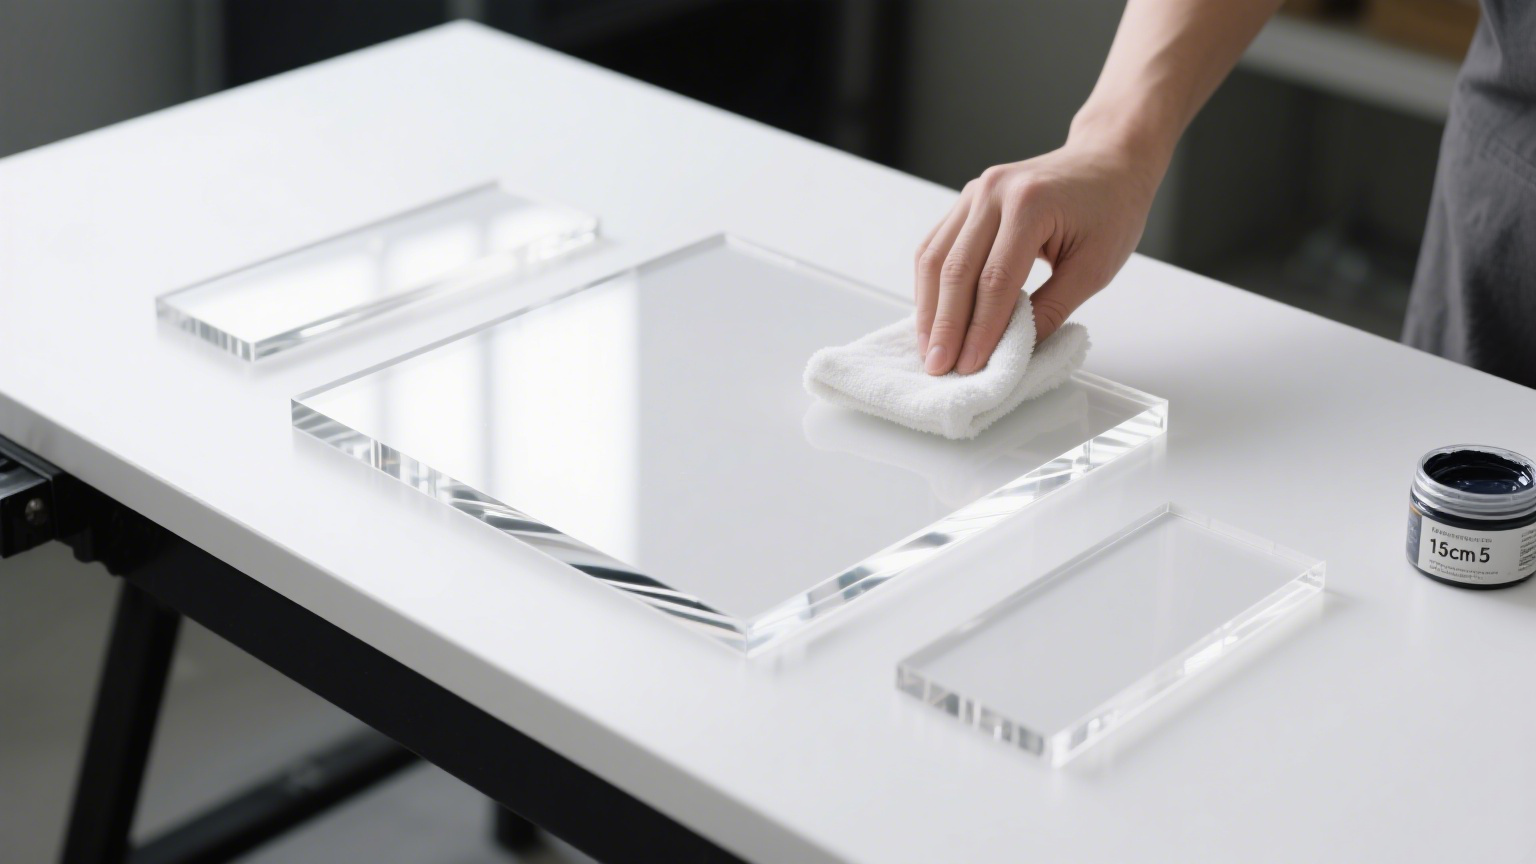
- Clean all panel surfaces with a mild cleaner (avoid alcohol or acetone) and dry them thoroughly—dust or oil will reduce adhesive strength.
- Apply masking tape to the outer sides of the joint areas (where panels meet). This prevents excess adhesive from staining the acrylic surface and makes cleanup easier.
- Apply a 2-3mm wide bead of acrylic-specific adhesive to the inner edges of the panels that need to be joined.
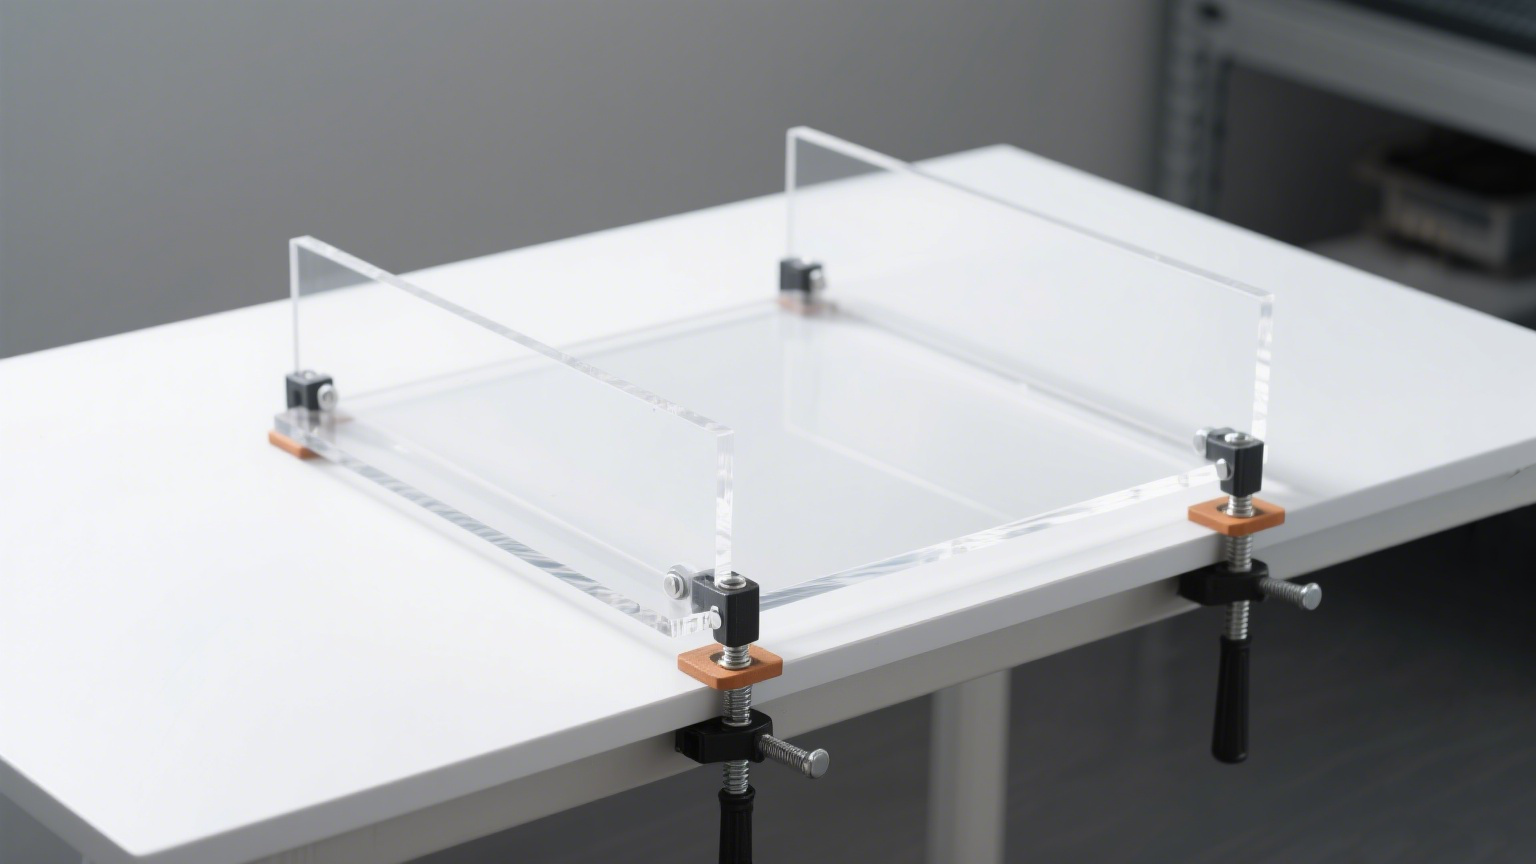
- First, attach the side panels to the base panel: align the edges carefully, press them firmly together, and secure the assembly with clamps (e.g., G-clamps or spring clamps). Let it sit for 1 hour to allow initial curing.
- Next, attach the end panels to the base and side panels. Use a square ruler to ensure all corners form 90° right angles—misalignment will affect the box’s stability.
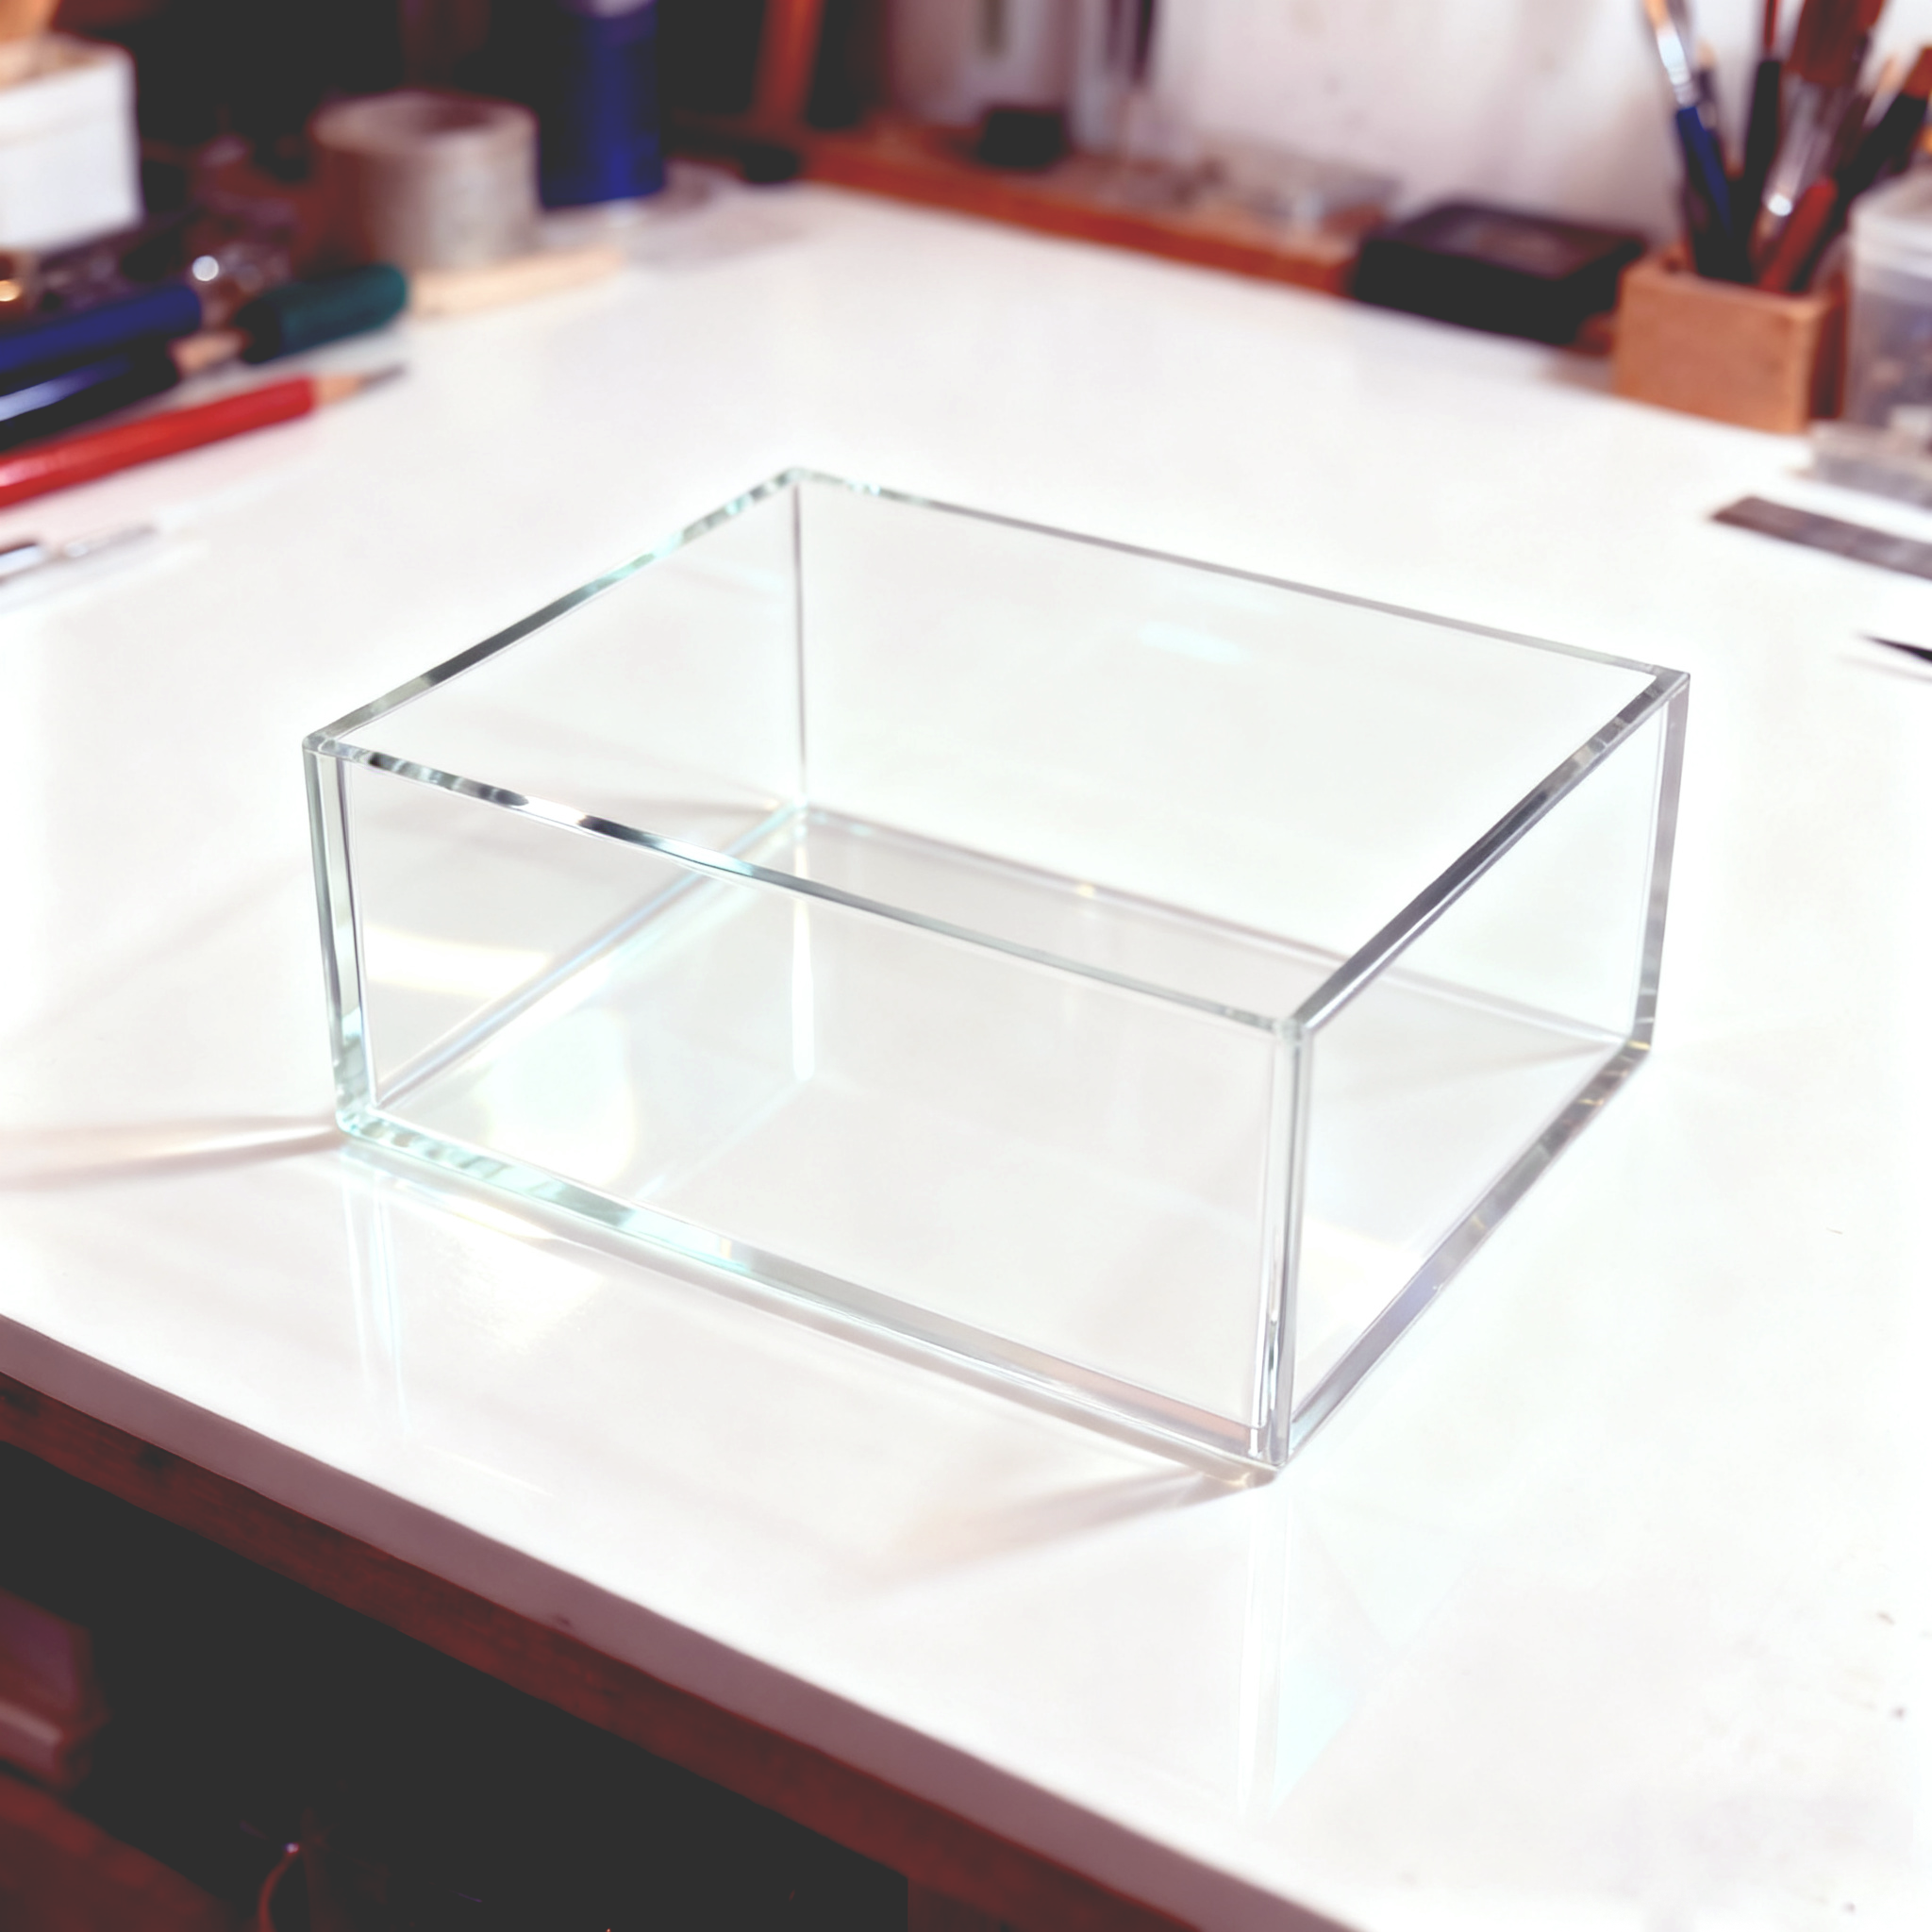
- Leave the fully assembled box undisturbed for 24 hours to allow the adhesive to cure completely.
Post-Assembly Tips
- After curing, peel off the masking tape and wipe away any excess adhesive with a damp cloth (use a small amount of acrylic cleaner if needed).
- For daily use, clean the storage box with a soft microfiber cloth and soapy water—avoid abrasive cleaners that may scratch the acrylic surface.