
การสร้างกรอบรูปแบบเฉพาะตัวด้วยตัวเอง เปิดโอกาสไม่สิ้นสุดในการจัดแสดงความทรงจำอันล้ำค่า งานศิลปะ และของสะสมได้อย่างลงตัวกับสไตล์ส่วนตัวและการตกแต่งบ้านของคุณ ไม่ว่าคุณจะเป็นช่างฝีมือมากประสบการณ์ หรือเพิ่งเริ่มต้นเส้นทางงานประดิษฐ์ด้วยตัวเอง การทำกรอบรูปจากวัสดุดิบจะช่วยให้คุณควบคุมทุกองค์ประกอบของการออกแบบได้ ตั้งแต่วัสดุและขนาด ไปจนถึงรายละเอียดปลีกย่อยที่สะท้อนรสนิยมเฉพาะตัวของคุณ
ศิลปะการประดิษฐ์กรอบรูปแบบโฮมเมดได้รับความนิยมเพิ่มขึ้นอย่างมาก เนื่องจากผู้คนจำนวนมากเริ่มสัมผัสกับความพึงพอใจในการสร้างชิ้นงานที่ใช้งานได้จริงและสามารถใช้ทั้งเพื่อจุดประสงค์เชิงปฏิบัติและตกแต่งได้ นอกเหนือจากกรอบรูปแบบแขวนผนังแบบดั้งเดิม ผู้ชื่นชอบงานดีไอวายในยุคปัจจุบันกำลังสำรวจแนวทางใหม่ๆ ในการจัดแสดงตั้งแต่ภาพถ่ายครอบครัวไปจนถึงคอลเลกชันที่มีค่า โดยใช้วัสดุต่างๆ เช่น ไม้ โลหะ และแม้แต่อนุภาคป้องกันที่ใส เพื่อเพิ่มความชัดเจนในการมองเห็นพร้อมทั้งให้การป้องกัน
คู่มือนี้จะแนะนำคุณผ่านโครงการทำกรอบรูปหลายประเภท ตั้งแต่การออกแบบที่เรียบง่ายเหมาะสำหรับผู้เริ่มต้น ไปจนถึงเทคนิคขั้นสูงที่มีฟีเจอร์เฉพาะทางแต่ละโครงการประกอบด้วยรายการวัสดุโดยละเอียด คำแนะนำทีละขั้นตอน และเคล็ดลับจากผู้เชี่ยวชาญ ซึ่งรับประกันว่ากรอบรูปที่คุณสร้างขึ้นจะดูสมบูรณ์แบบและมีความทนทานยาวนานสำหรับสิ่งของที่คุณจัดแสดง
เครื่องมือและวัสดุที่จำเป็นสำหรับการสร้างกรอบ
เครื่องมือพื้นฐานที่ต้องใช้
โครงการกรอบรูปที่ประสบความสำเร็จทุกครั้งเริ่มต้นจากการมีเครื่องมือที่เหมาะสมพร้อมใช้งาน เครื่องตัดมุมคุณภาพสูง หรือกล่องตัดมุมร่วมกับเลื่อยมือ จะเป็นพื้นฐานสำคัญในการตัดมุมให้แม่นยำ ทำให้มุมต่อของกรอบรูปแนบสนิทและเข้ากันได้อย่างไร้รอยต่อ นอกจากนี้ เทปวัดระยะที่เชื่อถือได้ สเกลรวม (combination square) และดินสอ ถือเป็นสิ่งจำเป็นเพื่อการขีดหมายขนาดอย่างถูกต้องและรักษามาตรฐานความสม่ำเสมอตลอดกระบวนการสร้าง
กาวไม้ที่ออกแบบมาเฉพาะสำหรับงานเฟอร์นิเจอร์จะช่วยยึดชิ้นส่วนกรอบให้แน่นหนาที่สุด ในขณะที่ชุดแคลมป์มุมจะช่วยยึดข้อต่อให้คงที่ระหว่างกระบวนการแห้งตัว กระดาษทรายเบอร์ละเอียดตั้งแต่ 120 ถึง 220 ช่วยขัดขอบหยาบให้เรียบเนียนและเตรียมผิวสำหรับขั้นตอนการตกแต่ง ซึ่งจะช่วยให้กรอบรูปที่ทำเองดูมีระดับและแตกต่างจากผลงานที่ดูประดิษฐ์ขึ้นมาแบบไม่มืออาชีพ
แนวทางการเลือกวัสดุ
การเลือกวัสดุที่เหมาะสมมีผลอย่างมากต่อทั้งรูปลักษณ์และความทนทานของกรอบรูปสำเร็จรูปของคุณ ไม้แ hard เช่น โอ๊ก เมเปิล และเชอร์รี่ มีความทนทานสูงและลวดลายผิวไม้ธรรมชาติที่สวยงาม แม้ว่าจะต้องใช้เครื่องมือที่คมมากขึ้นและการจัดการอย่างระมัดระวังเนื่องจากความหนาแน่นของไม้ ไม้เนื้ออ่อน เช่น ไพน์ และพ็อปลาร์ เป็นตัวเลือกที่ดีสำหรับผู้เริ่มต้น เพราะทำงานได้ง่ายขึ้น แต่ยังให้ผลลัพธ์ที่น่าพอใจเมื่อตกแต่งอย่างเหมาะสม
ความกว้างและความหนาของวัสดุกรอบควรสอดคล้องกับขนาดและน้ำหนักของงานศิลปะหรือภาพถ่ายที่คุณต้องการแสดง ชิ้นงานขนาดใหญ่ต้องการกรอบที่แข็งแรงมากขึ้นเพื่อรองรับได้อย่างเหมาะสม ในขณะที่สิ่งของที่บอบบางจะได้รับประโยชน์จากกรอบที่บางลง ซึ่งจะไม่ทำให้เนื้อหาที่แสดงดูอึดอัด ควรพิจารณาภาพรวมของสไตล์พื้นที่ของคุณเมื่อเลือกวัสดุ เพื่อให้กรอบแบบกำหนดเองของคุณช่วยเสริมบรรยากาศโดยรอบ แทนที่จะทำให้ดูแย่ลง
ขั้นตอนการประกอบกรอบพื้นฐาน
เทคนิคการวัดและการตัด
การวัดที่แม่นยำเป็นพื้นฐานสำคัญของการสร้างกรอบรูปอย่างประสบความสำเร็จ ซึ่งต้องให้ความใส่ใจอย่างรอบคอบทั้งในด้านขนาดของงานศิลปะของคุณและขนาดกรอบสุดท้ายที่ต้องการ เริ่มต้นด้วยการวัดรูปถ่ายหรืองานศิลปะของคุณอย่างละเอียด จากนั้นเพิ่มความกว้างของขอบที่ต้องการทุกด้าน เพื่อกำหนดขนาดภายในของกรอบ อย่าลืมพิจารณาความลึกของร่อง (rabbet depth) ซึ่งเป็นร่องที่ใช้ยึดงานศิลปะของคุณให้อยู่ในตำแหน่งภายในโครงสร้างกรอบ
เมื่อตัดชิ้นส่วนกรอบ ควรตัดชิ้นแรกให้มีความยาวพอดีแม่นยำ จากนั้นใช้ชิ้นนี้เป็นแม่แบบในการขีดหมายชิ้นส่วนอีกสามชิ้นที่เหลือ เทคนิคนี้จะช่วยให้ทุกด้านตรงกันอย่างสมบูรณ์ ลดปัญหาความคลาดเคลื่อนของขนาดที่อาจเกิดขึ้นได้ แม้แต่ช่างผู้มีประสบการณ์ ควรขีดหมายแต่ละชิ้นอย่างชัดเจนเพื่อระบุตำแหน่งในขั้นตอนการประกอบสุดท้าย เพื่อป้องกันความสับสนระหว่างขั้นตอนการติดกาวและการยึดแน่น
การประกอบและวิธีการต่อชิ้นส่วน
การประกอบกรอบอย่างมืออาชีพต้องอาศัยการสร้างข้อต่อที่แข็งแรงและมองไม่เห็น ซึ่งยังคงความทนทานตามกาลเวลา ควรทากาวไม้บางๆ ลงบนปลายทแยงของแต่ละชิ้นส่วนกรอบ โดยใช้แปรงเล็กหรือปลายนิ้วเกลี่ยให้ทั่ว เพื่อให้ได้รับการเคลือบอย่างสมบูรณ์โดยไม่มากเกินไปจนอาจไหลออกมาขณะใช้แม่แรงยึด
แม่แรงมุมหรือแม่แรงสายพานจะช่วยกระจายแรงกดอย่างสม่ำเสมอไปยังข้อต่อทั้งสี่ด้านพร้อมกัน ป้องกันไม่ให้กรอบขยับในช่วงเวลาสำคัญของการแห้งตัว ควรทิ้งกาวให้เซ็ตตัวอย่างน้อยสองชั่วโมงก่อนถอดแม่แรง แต่การทิ้งไว้ข้ามคืนจะให้ความแข็งแรงสูงสุดสำหรับขั้นตอนการจัดการและการตกแต่งต่อไป เมื่อกาวแห้งแล้ว ให้ใช้เหล็กฉากระดับคมขูดกาวที่ไหลออกและแห้งแล้วออก ก่อนดำเนินการขัดและตกแต่งต่อไป
เทคนิคตกแต่งขั้นสูง
การสร้างพื้นผิวตกแต่งแบบมีเท็กซ์เจอร์
ยกระดับพื้นฐานของคุณ กรอบรูป การออกแบบเกี่ยวข้องกับการทดลองใช้เทคนิคต่าง ๆ ในการตกแต่งผิวเพื่อเพิ่มความน่าสนใจทางสายตาและความรู้สึกที่ได้จากการสัมผัส เทคนิคการสร้างความเสื่อมสภาพด้วยกระดาษทราย โลหะขนแมว หรือเครื่องมือพิเศษเฉพาะทาง จะช่วยให้เกิดลักษณะดูเก่า ซึ่งเข้ากันได้ดีโดยเฉพาะกับสไตล์การตกแต่งแบบชนบทหรือแรงบันดาลใจจากยุคโบราณ ควรเน้นการทำให้ดูเสื่อมสภาพในบริเวณที่มักสึกหรอตามธรรมชาติ เช่น มุมและขอบ เพื่อให้ได้ลักษณะที่ดูเป็นธรรมชาติและแท้จริงที่สุด
การเจาะลวดลายตกแต่งช่วยเพิ่มลวดลายที่ดูสง่างามให้กับหน้ากรอบ ทำให้ชิ้นงานสี่เหลี่ยมธรรมดาเปลี่ยนกลายเป็นองค์ประกอบเชิงสถาปัตยกรรมที่ดูซับซ้อนและมีระดับ เครื่องเจาะ (router) ที่ติดตั้งดอกตัดแบบกลมมน โค้งเว้า หรือแบบโอจี (ogee) สามารถสร้างรายละเอียดที่ดูมีคุณภาพสูง เทียบเท่ากับกรอบที่ผลิตในเชิงพาณิชย์ได้ ควรฝึกการใช้เครื่องเจาะบนวัสดุเหลือทิ้งก่อน เพราะเครื่องมือเหล่านี้สามารถทำให้โครงการเสียหายได้อย่างรวดเร็วหากใช้งานผิดวิธีหรือเคลื่อนป้อนวัสดุเร็วเกินไป
การนำเอาองค์ประกอบสื่อผสมมาใช้ร่วมกัน
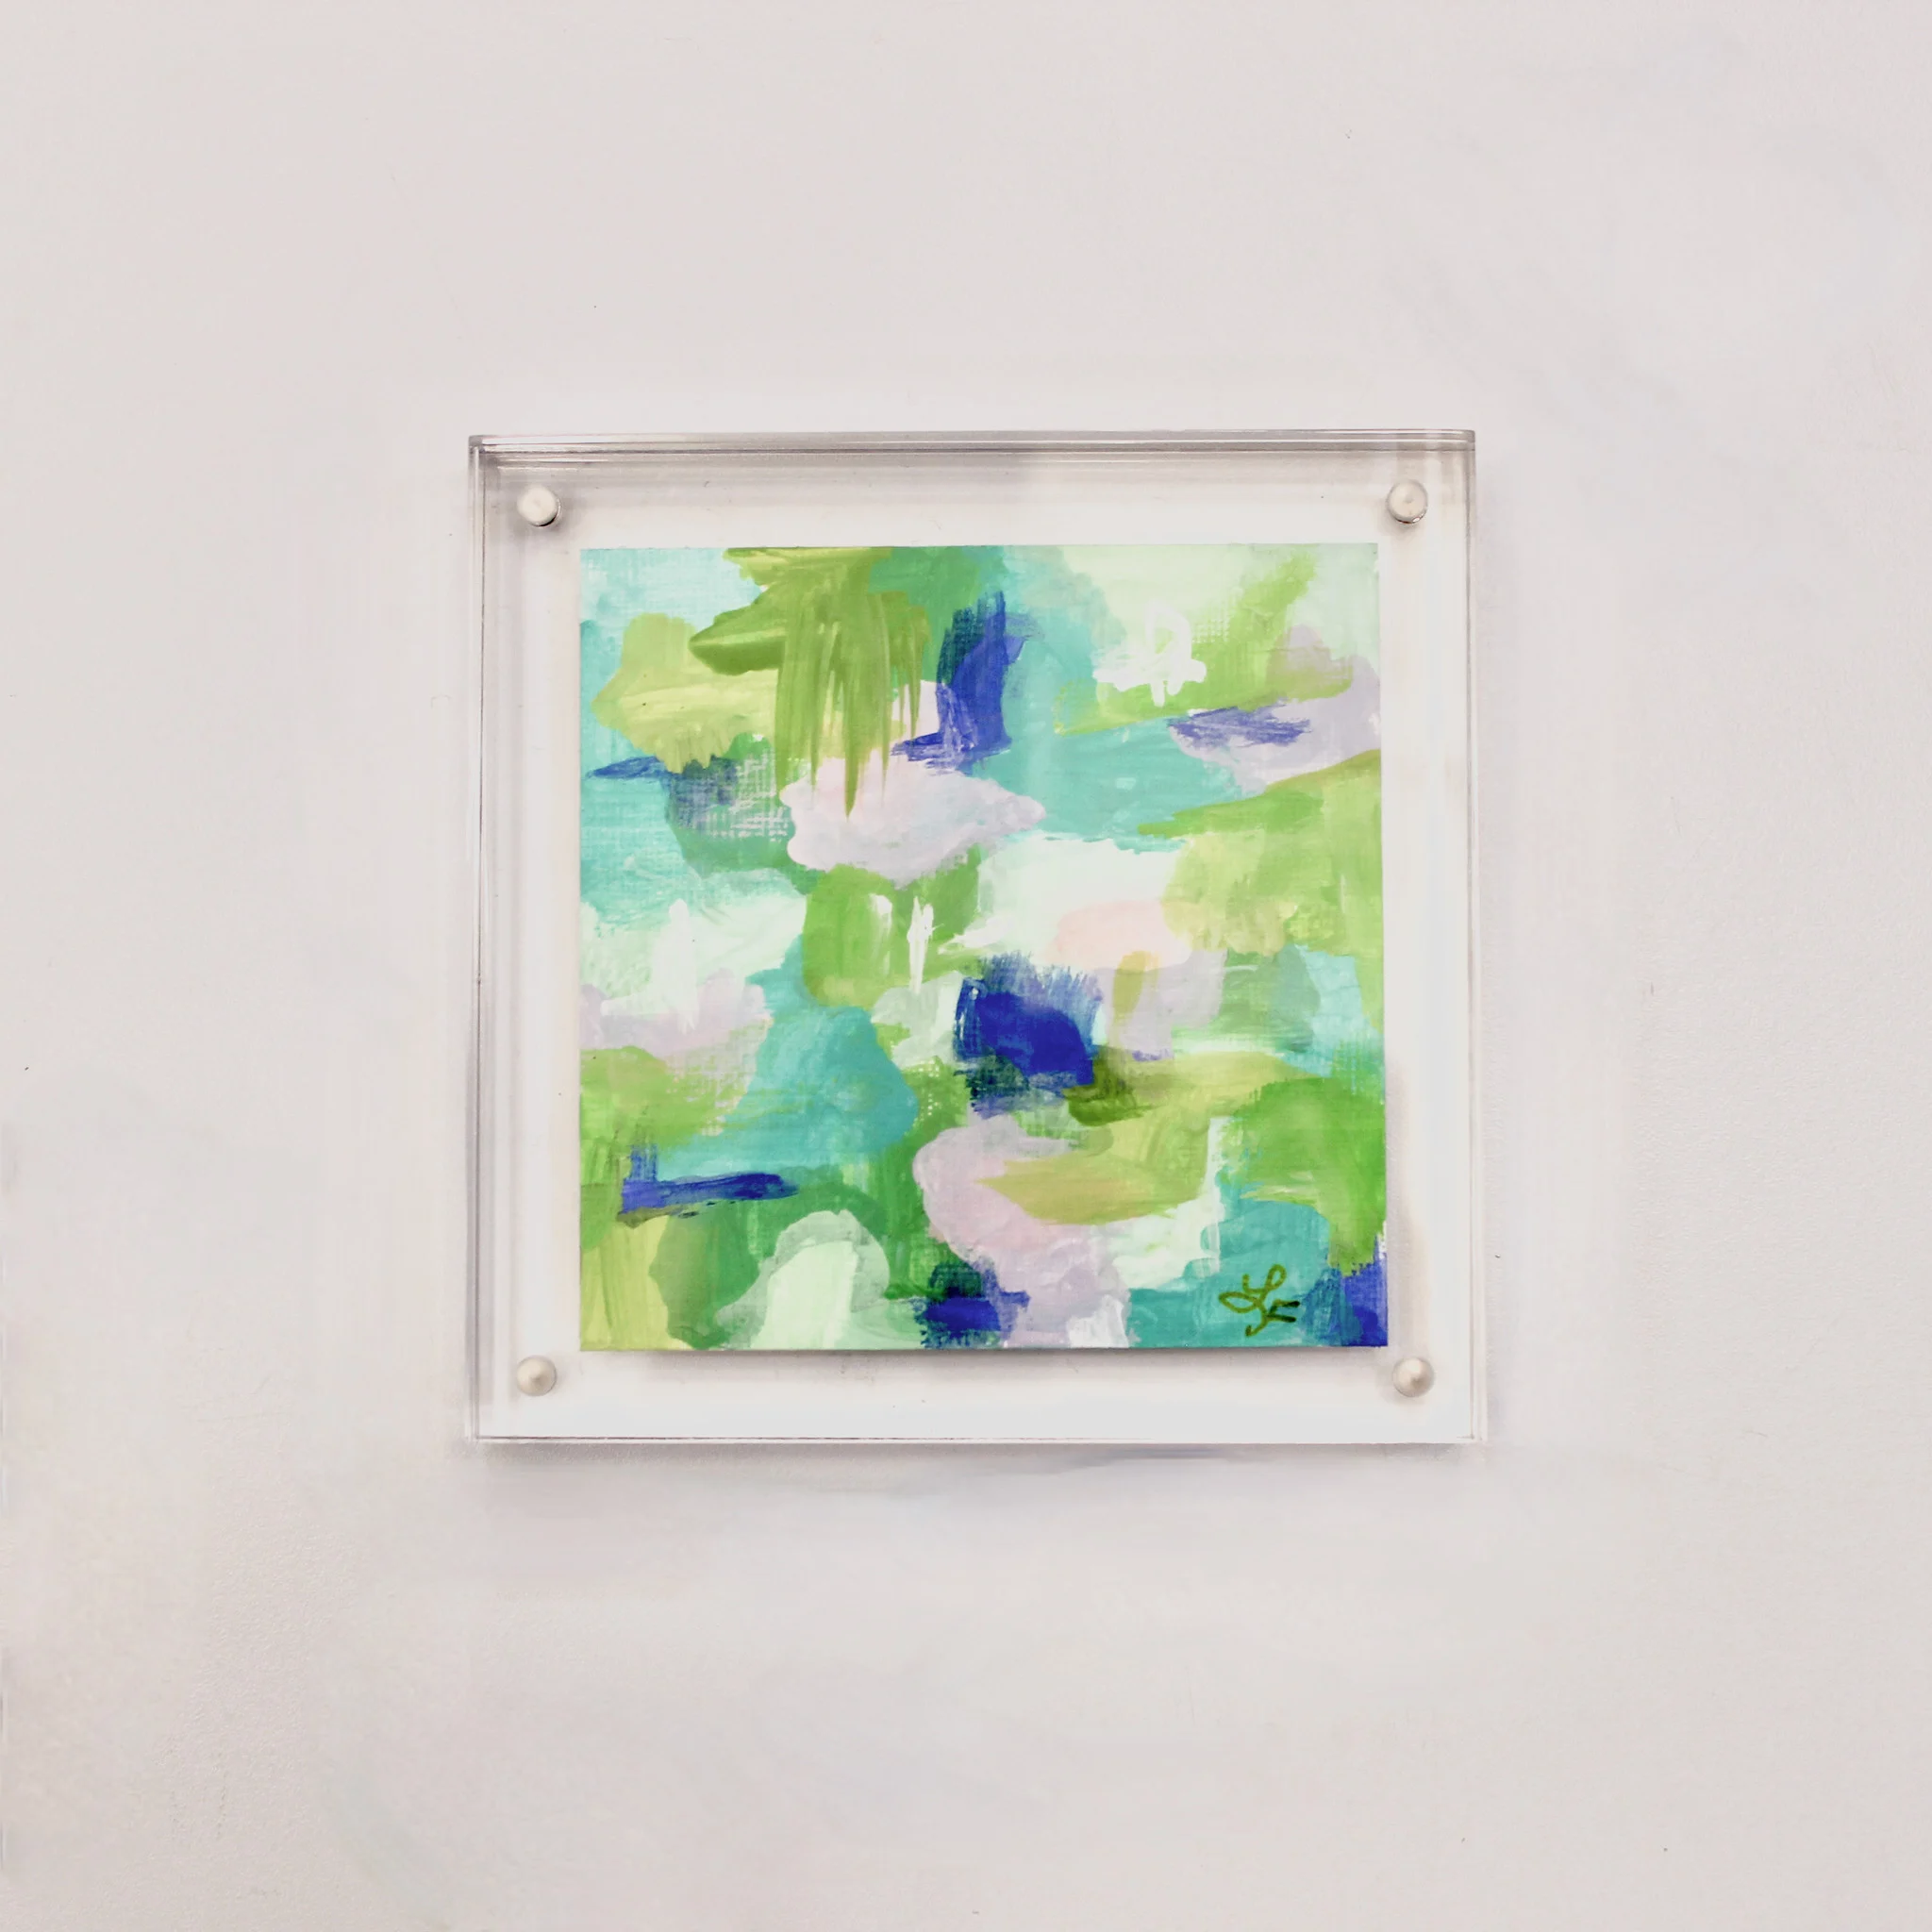
การออกแบบกรอบแบบทันสมัยมักใช้วัสดุหลายประเภทร่วมกันเพื่อสร้างเอฟเฟกต์เชิงภาพที่โดดเด่นและเพิ่มประสิทธิภาพการใช้งาน ขาจับมุมโลหะไม่เพียงแต่ช่วยเสริมความแข็งแรงให้กับข้อต่อเท่านั้น แต่ยังทำหน้าที่เป็นองค์ประกอบตกแต่งที่เข้ากับธีมการออกแบบสไตล์อุตสาหกรรมหรือร่วมสมัย อีกทั้งยังมีกระจกหรือ อะคริลิก แผ่นป้องกันช่วยปกป้องสิ่งของที่จัดแสดงไว้ ขณะที่ยังคงมองเห็นได้อย่างชัดเจน โดยมีตัวเลือกแผ่นกรองรังสี UV สำหรับงานศิลปะหรือภาพถ่ายมีค่าที่ต้องการป้องกันไม่ให้สีซีดจาง
กรอบหุ้มผ้าสามารถปรับแต่งได้อย่างไม่จำกัด ช่วยให้คุณสามารถแมตช์กับผ้าที่มีอยู่ในพื้นที่นั้น หรือสร้างชิ้นงานเน้นพิเศษที่ดึงดูดสายตาให้กับการแสดงผลงานเฉพาะทาง เลือกใช้ผ้าที่ถักแน่นเพื่อป้องกันการหลุดรุ่ย และใช้กาวแบบสเปรย์เพื่อให้การติดตั้งเรียบเนียนไร้ริ้ว ผ้าแพร ผ้าลินิน และผ้าใบฝ้ายเหมาะอย่างยิ่งสำหรับเทคนิคนี้ แต่ละชนิดให้คุณสมบัติพื้นผิวที่แตกต่างกัน ช่วยยกระดับภาพรวมของการนำเสนอ
การประยุกต์ใช้งานสำหรับการจัดแสดงพิเศษ
วิธีการก่อสร้างกล่องเงา
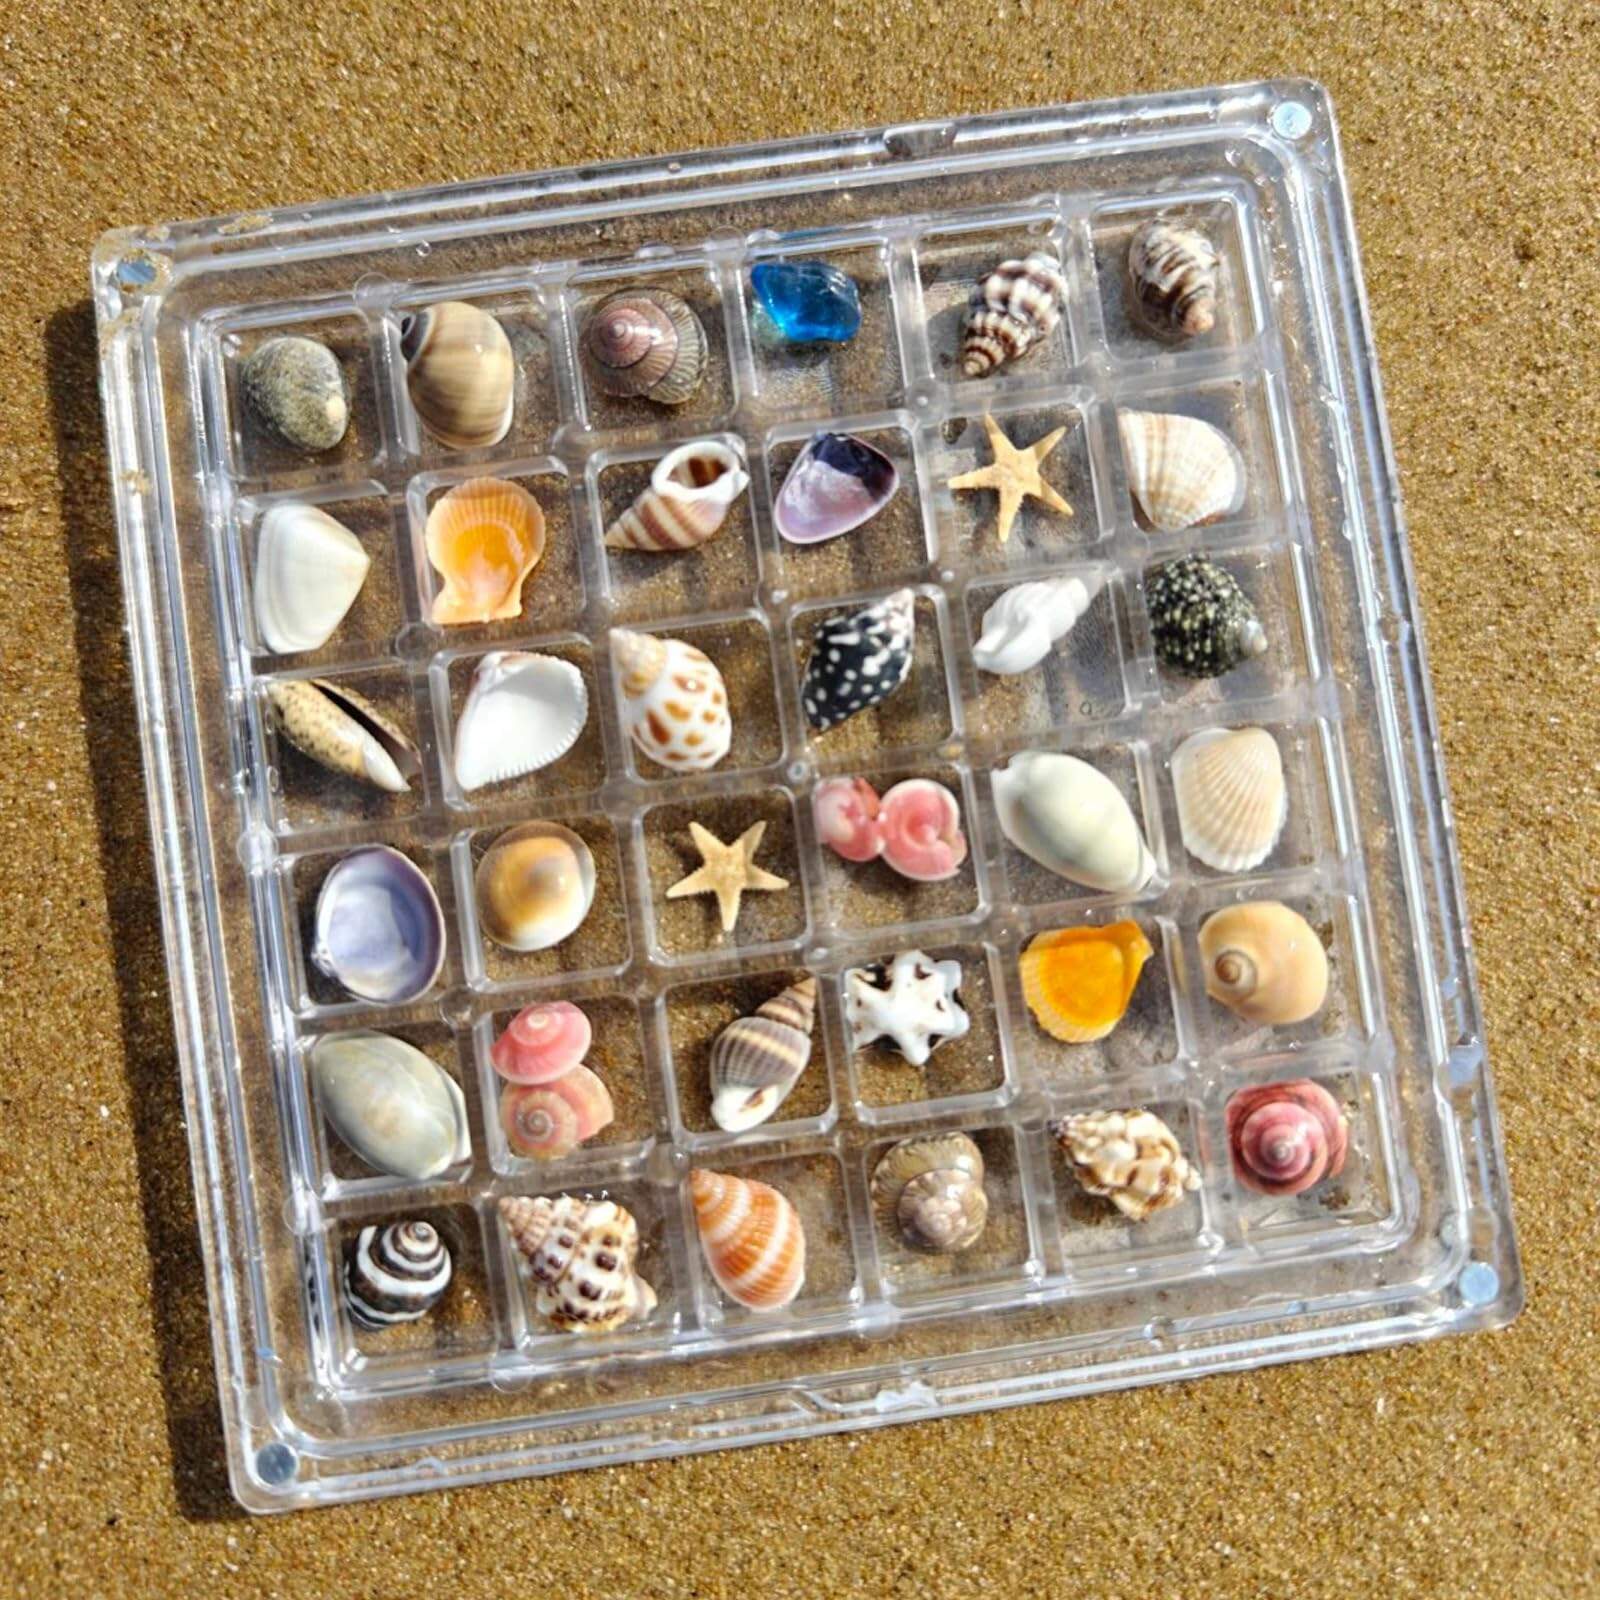
กล่องเงาเป็นรูปแบบขั้นสูงของกรอบรูปที่สามารถจัดวางวัตถุสามมิติได้ และสร้างเอฟเฟกต์ความลึกอย่างโดดเด่นสำหรับสิ่งที่จัดแสดง การสร้างกล่องเงาต้องมีการวัดขนาดของวัตถุอย่างแม่นยำ เพื่อให้มีพื้นที่เพียงพอและรักษารูปลักษณ์ที่สมส่วน ความลึกของกล่องโดยทั่วไปจะอยู่ระหว่างหนึ่งถึงสี่นิ้ว ขึ้นอยู่กับวัตถุที่จัดแสดงและผลกระทบเชิงภาพที่ต้องการ
ระบบไฟส่องสว่างภายในสามารถช่วยเสริมการแสดงผลของกล่องเงาได้อย่างมาก โดยใช้หลอดไฟ LED เส้นหรือไฟสปอตไลต์ขนาดเล็กเพื่อเน้นวัตถุเฉพาะ หรือสร้างแสงโดยรอบทั่วบริเวณจัดแสดง ทางเลือกที่ใช้แบตเตอรี่ช่วยลดความจำเป็นในการต่อสายไฟ ทำให้ติดตั้งง่ายขึ้นและสามารถจัดตำแหน่งได้อย่างยืดหยุ่นมากขึ้น ควรพิจารณาปริมาณความร้อนที่ปล่อยออกมาจากระบบไฟทุกชนิด เพื่อป้องกันความเสียหายต่อวัตถุที่จัดแสดงซึ่งอาจไวต่อความร้อน
การออกแบบกรอบหลายช่อง
กรอบรูปแบบคอลลาจที่มีช่องเปิดหลายช่องต้องได้รับการวางแผนอย่างรอบคอบ เพื่อให้เกิดองค์ประกอบที่สมดุล และสามารถนำเสนอภาพถ่ายหรืองานศิลปะที่เกี่ยวข้องกันหลายชิ้นได้อย่างมีประสิทธิภาพ ควรสร้างแม่แบบโดยใช้กระดาษแข็งหรือกระดาษเพื่อทดลองจัดวางตำแหน่งของช่องเปิด ก่อนที่จะตัดวัสดุกรอบจริง ตรวจสอบให้แน่ใจว่ามีระยะห่างที่เพียงพอระหว่างช่องเปิดแต่ละช่อง เพื่อรักษารูปร่างโครงสร้างให้แข็งแรง และยังคงความแยกจากกันในเชิงภาพของแต่ละองค์ประกอบ
กระบวนการตัดแผ่นรองสำหรับกรอบภาพหลายช่องต้องอาศัยความแม่นยำและทักษะ เนื่องจากแต่ละช่องจะต้องจัดตำแหน่งให้ตรงกับรูปถ่ายหรืองานศิลปะที่กำหนดไว้อย่างสมบูรณ์ ควรใช้มีดตัดแผ่นรองที่มีใบมีดสามารถเปลี่ยนได้ และทำการตัดด้วยการลากหลายครั้งเบาๆ แทนที่จะพยายามตัดผ่านแผ่นรองหนาในครั้งเดียว เทคนิคนี้จะให้ขอบที่คมชัดมากขึ้น และลดความเสี่ยงของการฉีกขาดหรือตัดไม่เรียบร้อย ซึ่งอาจทำให้ภาพลักษณ์โดยรวมดูไม่เป็นมืออาชีพ
กลยุทธ์การตกแต่งและการป้องกัน
การลงสีและเคลือบไม้
การตกแต่งที่เหมาะสมจะเปลี่ยนกรอบรูปไม้ดิบให้กลายเป็นชิ้นงานที่มีความเรียบร้อย เหมาะสมอย่างยิ่งสำหรับจัดแสดงสิ่งของอันล้ำค่าที่สุดของคุณ การใช้ตัวปรับสภาพไม้ก่อนลงสีรองพื้นบนไม้อ่อน จะช่วยให้สีซึมเข้าได้อย่างสม่ำเสมอ และป้องกันการเกิดคราบด่างที่อาจเกิดขึ้นกับชนิดไม้เช่น สน หรือเชอร์รี่ ควรทิ้งตัวปรับสภาพให้ซึมเข้าเนื้อไม้ตามระยะเวลาที่ผู้ผลิตแนะนำ ก่อนลงสีในเฉดที่คุณเลือก
สีประเภทน้ำมีข้อดีเรื่องทำความสะอาดง่ายและแห้งเร็วกว่าสีประเภทน้ำมัน แม้ว่าสีน้ำมันจะให้ความลึกของสีที่เข้มข้นกว่าและมีเวลาในการทำงานที่ยาวนานขึ้นเพื่อให้ได้การเคลือบที่สม่ำเสมอ ควรลงสีโดยใช้แปรงขนธรรมชาติหรือผ้าสะอาด โดยทาไปในทิศทางเดียวกับลายไม้ และรักษารอยต่อให้ชุ่มอยู่เสมอเพื่อป้องกันการเกิดรอยซ้อนจากการทากาว ผลลัพธ์ที่ดีที่สุดจะได้จากการทากี่หลายชั้นเบาๆ แทนการพยายามให้ได้สีทึบในครั้งเดียวด้วยชั้นสีหนา
การใช้สารเคลือบป้องกัน
ชั้นเคลือบป้องกันขั้นสุดท้ายมีบทบาทสำคัญทั้งในด้านรูปลักษณ์และความทนทานของผลงานกรอบรูปที่คุณทำ ผิวเคลือบโพลียูรีเทนให้การป้องกันความชื้นและการเสียดสีได้อย่างยอดเยี่ยม มีให้เลือกทั้งแบบซาติน เคลือบกึ่งเงา และเคลือบเงา เพื่อให้เข้ากับรสนิยมด้านการออกแบบของคุณ ควรขัดเบาๆ ระหว่างการลงแต่ละชั้นด้วยกระดาษทรายเม็ดละเอียด เพื่อให้แน่ใจว่าแต่ละชั้นยึดติดกันได้ดี และขจัดรอยแปรงหรือตำหนิบนผิวเรียบได้ออกไป
ผิวเคลือบแบบแว๊กซ์ให้รูปลักษณ์แบบดั้งเดิม พร้อมความวาวนุ่มนวลที่ช่วยเน้นลายไม้ให้เด่นชัด โดยไม่มีลักษณะเหมือนพลาสติกที่บางครั้งอาจพบได้จากผิวเคลือบโพลียูรีเทน ให้ทาแว๊กซ์แบบเป็นก้อนเป็นชั้นบางๆ อย่างสม่ำเสมอด้วยการเคลื่อนไหวเป็นวงกลม จากนั้นขัดมันให้ได้ระดับความวาวตามต้องการด้วยผ้าฝ้ายสะอาด ถึงแม้ว่าแว๊กซ์จะให้การป้องกันน้อยกว่าผิวเคลือบสังเคราะห์รุ่นใหม่ แต่สามารถทากลับเพิ่มเติมได้ง่ายเมื่อเริ่มเห็นสัญญาณการสึกหรอ
การแก้ไขปัญหาทั่วไป
การแก้ไขปัญหาข้อต่อ
การเกิดช่องว่างที่มุมตัดเฉียงเป็นหนึ่งในปัญหาที่พบบ่อยที่สุดในการประกอบกรอบรูป โดยมักเกิดจากมุมตัดที่ไม่แม่นยำหรือแรงยึดจากเครื่องหนีบไม่เพียงพอระหว่างขั้นตอนการประกอบ ช่องว่างเล็กๆ มักสามารถอุดได้ด้วยสารอุดไม้ที่มีสีตรงกับสีแลคเกอร์ที่คุณเลือก อย่างไรก็ตาม การป้องกันปัญหานี้ด้วยการวัดและตัดอย่างระมัดระวังยังคงเป็นแนวทางที่ดีที่สุด
ข้อต่อที่หลวมและแยกออกจากกันหลังจากการประกอบเบื้องต้น มักบ่งชี้ว่าใช้กาวไม่เพียงพอ หรือพื้นผิวที่ต้องติดกาวมีสิ่งปนเปื้อน ควรทำความสะอาดคราบกาวเก่าออกให้หมดด้วยเหล็กแตะหรือกระดาษทราย ก่อนทำการติดกาวใหม่ เพื่อให้พื้นผิวไม้สดสัมผัสกันโดยตรง พิจารณาเสริมความแข็งแรงให้ข้อต่อที่มีปัญหาด้วยตะปูตกแต่งขนาดเล็กหรือสกรูที่ตอกจากด้านหลังของกรอบ เพื่อไม่ให้มองเห็นเมื่อประกอบเสร็จเรียบร้อยแล้ว
การแก้ไขข้อผิดพลาดในการวัด
กรอบที่มีขนาดใหญ่หรือเล็กเกินไปเล็กน้อยเมื่อเปรียบเทียบกับงานศิลปะที่ต้องการจัดวาง จำเป็นต้องใช้วิธีแก้ปัญหาอย่างสร้างสรรค์เพื่อรักษาภาพลักษณ์ที่ดูเป็นมืออาชีพ การเพิ่มแถบวัสดุบางๆ เพื่อขยายขนาดกรอบสามารถใช้ได้ดีสำหรับความคลาดเคลื่อนของขนาดที่ไม่มากนัก แต่ต้องแน่ใจว่าชิ้นส่วนที่เพิ่มเข้ามาตรงกับลักษณะและผิวสัมผัสของกรอบเดิมอย่างแม่นยำ อีกทางเลือกหนึ่งคือการปรับขนาดช่องของกระดาษรองกรอบ (mat) หรือการเพิ่มหลายชั้นของกระดาษรองกรอบ เพื่อให้สามารถใส่กรอบที่มีขนาดใหญ่กว่างานศิลป์เล็กน้อยได้
ข้อผิดพลาดในการวัดขนาดที่รุนแรงอาจจำเป็นต้องเริ่มต้นใหม่ด้วยวัสดุชุดใหม่ อย่างไรก็ตาม ชิ้นส่วนที่เคยใช้แล้วมักสามารถนำกลับมาใช้เป็นวัสดุฝึกฝนเพื่อพัฒนาเทคนิค หรือทดสอบวิธีการตกแต่งผิวสำเร็จรูปได้ ควรจดบันทึกขั้นตอนการวัดและการตัดที่ประสบความสำเร็จไว้เพื่ออ้างอิงในอนาคต โดยการสร้างแม่แบบหรืออุปกรณ์ช่วยตัดเฉพาะตัวที่จะช่วยให้ได้ผลลัพธ์ที่สม่ำเสมอในโครงการต่างๆ ที่ทำต่อไป
คำถามที่พบบ่อย
ไม้ประเภทใดที่เหมาะที่สุดสำหรับโครงการกรอบรูปสำหรับผู้เริ่มต้น
ไม้ปินและไม้โพปลาร์ถือเป็นตัวเลือกที่เหมาะสำหรับผู้เริ่มต้น เนื่องจากเนื้อไม้อ่อนที่สามารถตัดได้ง่ายด้วยเครื่องมือพื้นฐาน และให้ความยืดหยุ่นในการทำเทคนิคต่าง ๆ ที่อาจคลาดเคลื่อนเล็กน้อย ไม้ประเภทนี้รองรับการลงสีและการทาสีได้ดี ขณะเดียวกันก็มีต้นทุนที่เหมาะสมสำหรับงานฝึกฝน ควรหลีกเลี่ยงไม้แข็งมาก เช่น ไม้โอ๊กหรือไม้เมเปิล จนกว่าจะมีความมั่นใจในทักษะการตัดและการประกอบ เพราะไม้เหล่านี้ต้องใช้เครื่องมือที่คมมากขึ้นและต้องการความแม่นยำในการจัดการมากกว่า
ฉันจะทราบได้อย่างไรว่าขนาดกรอบที่เหมาะสมกับผลงานศิลปะของฉันคือขนาดใด
วัดขนาดผลงานศิลปะของคุณอย่างแม่นยำ จากนั้นเพิ่มความกว้างของขอบที่ต้องการทั้งสี่ด้าน เพื่อคำนวณขนาดภายในของกรอบ ความกว้างของขอบมาตรฐานโดยทั่วไปอยู่ที่ 2-4 นิ้ว สำหรับการใช้งานส่วนใหญ่ แม้ว่าชิ้นงานขนาดใหญ่อาจได้รับประโยชน์จากการใช้ขอบที่กว้างขึ้นเพื่อให้มีสัดส่วนทางสายตาที่เหมาะสม โปรดคำนึงถึงความหนาของกระดาษรอง (mat) หากใช้กระดาษรอง และควรตรวจสอบการวัดซ้ำเสมอ ก่อนตัดวัสดุที่มีราคาแพง
ฉันสามารถสร้างกรอบรูปโดยไม่ต้องใช้เครื่องมือช่างไม้เฉพาะทางได้หรือไม่
สามารถสร้างกรอบรูปพื้นฐานได้โดยใช้เพียงเครื่องมือแบบมือถือ แม้ว่ากระบวนการนี้จะต้องใช้เวลามากกว่าและต้องอาศัยความอดทนมากขึ้นเมื่อเทียบกับการใช้เครื่องมือไฟฟ้า การใช้กรอบตัดมุมพร้อมเลื่อยมือสามารถตัดมุมได้อย่างแม่นยำ ในขณะที่การเจาะและขันสกรูสามารถทำได้ด้วยไขควงและสว่านมือ ซึ่งไม้บัวสำเร็จรูปที่ตัดมาแล้วจากโรงเลื่อยช่วยให้ไม่จำเป็นต้องใช้เครื่องมือขึ้นรูปขั้นสูง ทำให้สามารถมุ่งเน้นไปที่เทคนิคการประกอบและการตกแต่งได้
ฉันควรปฏิบัติตามมาตรการความปลอดภัยอะไรบ้างระหว่างการสร้างกรอบ
ควรสวมแว่นนิรภัยเสมอเมื่อตัดหรือขัดวัสดุ และใช้หน้ากากกันฝุ่นในระหว่างการขัดผิวเป็นเวลานานเพื่อปกป้องระบบทางเดินหายใจ รักษาระยะห่างของนิ้วมือจากใบเลื่อยและดอกไสไม้ โดยใช้ไม้ดันหรือไม้แนวช่วยเมื่อทำงานกับชิ้นงานขนาดเล็ก ควรจัดให้มีการระบายอากาศที่เพียงพอเมื่อทาสีรองพื้นหรือเคลือบผิว และเก็บสารเคมีทั้งหมดไว้ในที่ปลอดภัยห่างจากแหล่งความร้อน และอยู่นอกมือเด็กและสัตว์เลี้ยง